Azure AD Premium – Self Service Group Management
July 18, 2014 Leave a comment
Microsoft recently announced Azure AD premium preview. I thought of writing a quick post to give you an idea of how the self service group management workflow works in the Azure.
Prerequisites
- Azure AD Tenant
- Azure AD Premium activated for users.
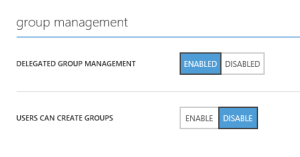
- Self Service Group Management Activated.
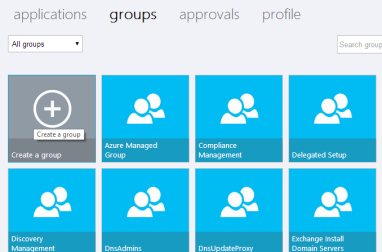
First you need to login to Access panel using a global admin account and then create a group. Note that normal users are not allowed to create groups.
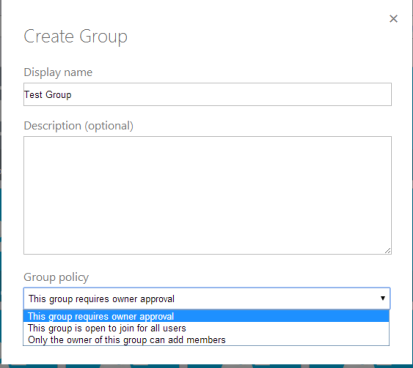
You have three options
- Owner approved groups
- Open groups
- Owner managed groups – Only the owner can add members.
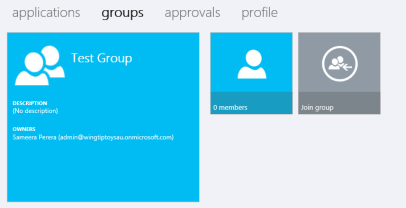
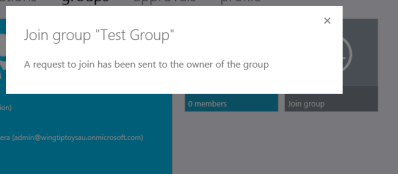
When you login to the Access panel as different user, you will see the join group button.
Request will be submitted once the user click that button.
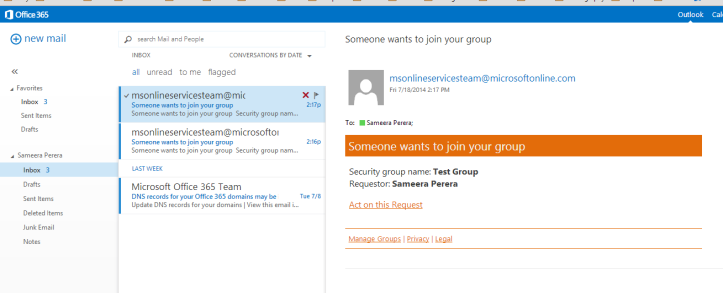
The owner will be receive an email saying the following.
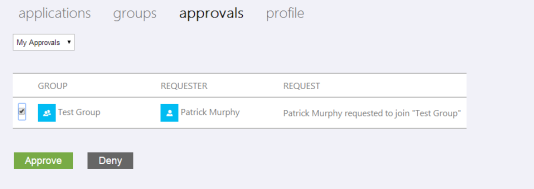
The group owner can accept or deny the request. The emails are received from the address – “msonlineservicesteam@microsoftonline.com”
No Emails are sent to the requester.
